
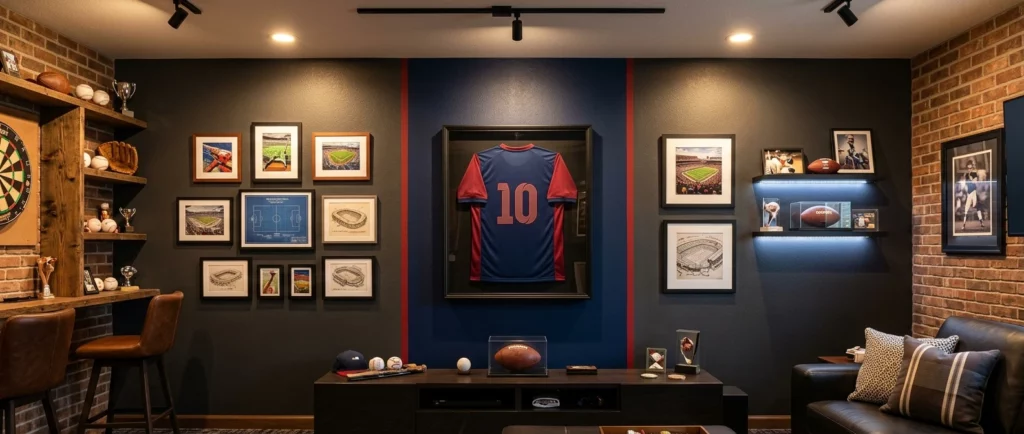
The walls in a sports cave do more heavy lifting than most guys give them credit for. A rented turf rug or a case of signed baseballs looks sharp sitting against a bare, builder-white wall, but it looks sharp sitting against a finished wall. Before any money goes toward memorabilia, a pool table, or a theater setup, the surfaces around the room need to tell the story first. The good news is that the wall work is the cheapest part of the whole project, and it’s where mancave wall decor ideas on a budget can make the biggest visual difference for the smallest spend.
Why the walls come first, before you spend on memorabilia
A signed jersey in a glass case is the centerpiece of a room, but centerpieces need a stage. Hang that same jersey case on a plain drywall wall, and it reads like an afterthought. Hang it against a team-color accent wall with a few framed prints nearby, and it reads like the room was built around it.
This isn’t just about looks. Walls are also the cheapest square footage in the entire project. Paint, decals, and framed posters run a few dollars per square foot. A single piece of memorabilia or a display case, by contrast, can run into the hundreds or thousands depending on what you’re after, which is covered in detail in Vintage Sports Memorabilia Before You Shop. Spending the big dollars on the walls first is backwards. Get the backdrop right, then let the expensive pieces earn their keep.
Stadium seat and turf accent walls for under $100
One accent wall section covered in artificial turf or outdoor carpet remnant can mimic a stadium sideline for well under $100. Big box hardware stores sell turf by the roll or in precut sections meant for patios, and a 4-by-8 foot section mounted on plywood backing and screwed to one wall gives a textured, three-dimensional look that flat paint can’t match.
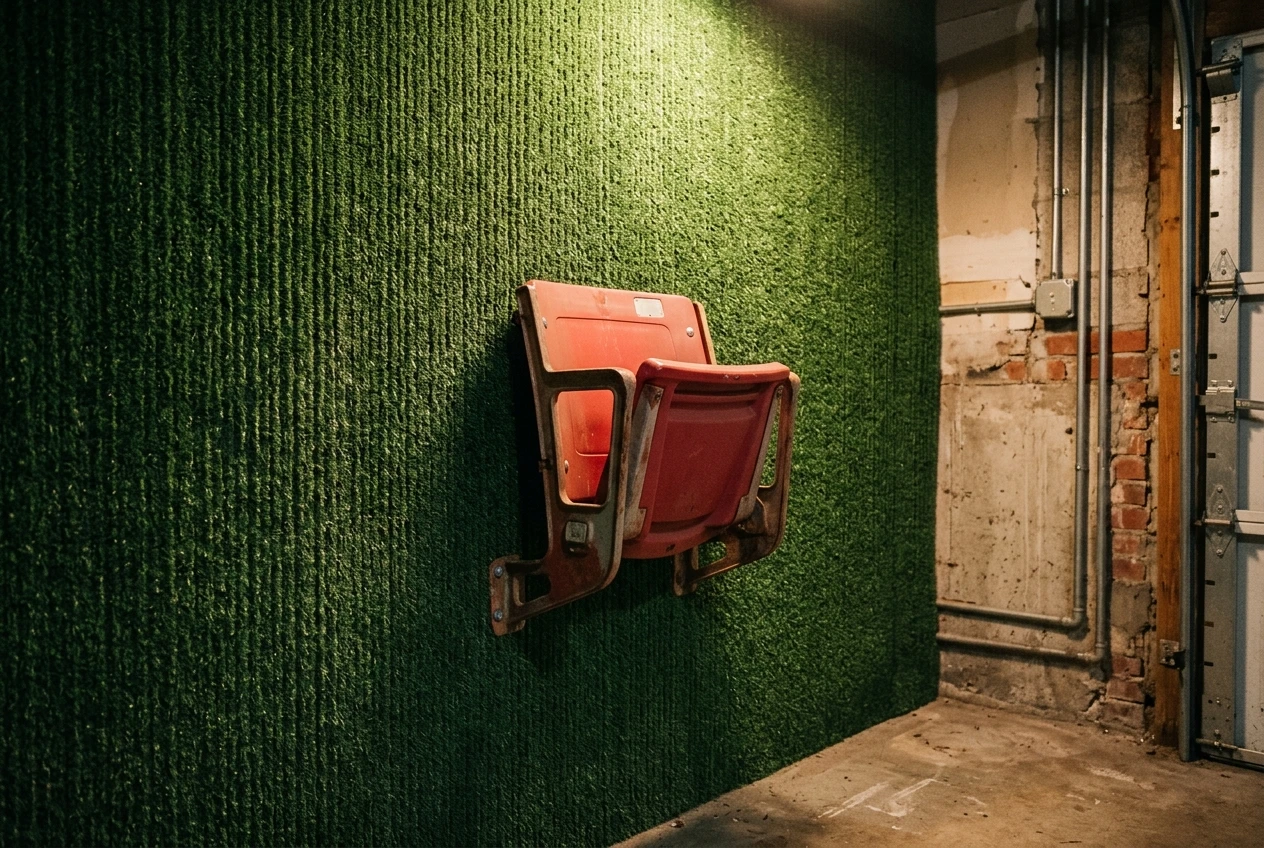
Pair that with a reclaimed stadium seat, which shows up secondhand at salvage shops and online marketplaces for less than new furniture, mounted directly to the turf section as a sculptural piece rather than something anyone sits in. The combination of green turf texture and a single stadium seat reads as “stadium tunnel” immediately, and it costs a fraction of a themed wall unit from a specialty retailer.
DIY team color paint schemes that look custom
Paint is still the single cheapest transformation available, and a gallon runs under $50 in most cases. The trick to making a paint job look custom instead of like a kid’s bedroom is restraint. Full walls in bright primary or secondary team colors tend to overwhelm a room and fight with lighting. A better approach:
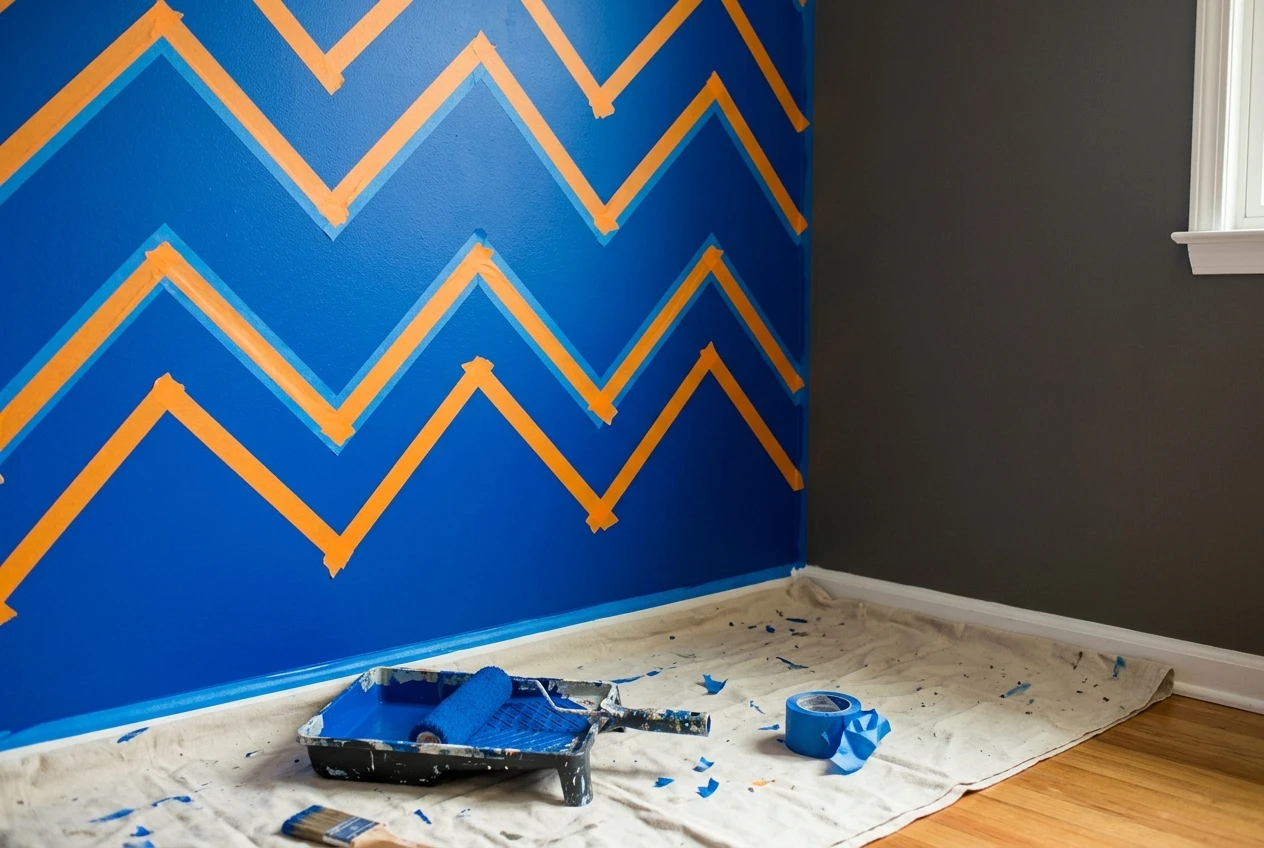
- Paint one wall in the dominant team color, leave the other three a neutral gray or dark charcoal.
- Use painter’s tape to create a single sharp stripe or chevron in the secondary team color, rather than painting the whole wall two colors.
- Stick to matte or eggshell finishes on large walls, since high gloss shows every roller mark and dent.
A two-tone wall with a clean taped line looks like it was done by a painting contractor, even though it’s a weekend project with a roller and a few rolls of painter’s tape.
Framing jerseys and posters without the custom shop markup
Custom framing shops charge heavily for shadow boxes and jersey frames, often because of the labor and the glass. A standard jersey frame kit bought online, designed specifically to hold a folded jersey behind UV-protective acrylic, costs a small fraction of what a local frame shop quotes for the same result, and the kits are built for exactly this job so there’s no guesswork in the folding or mounting.
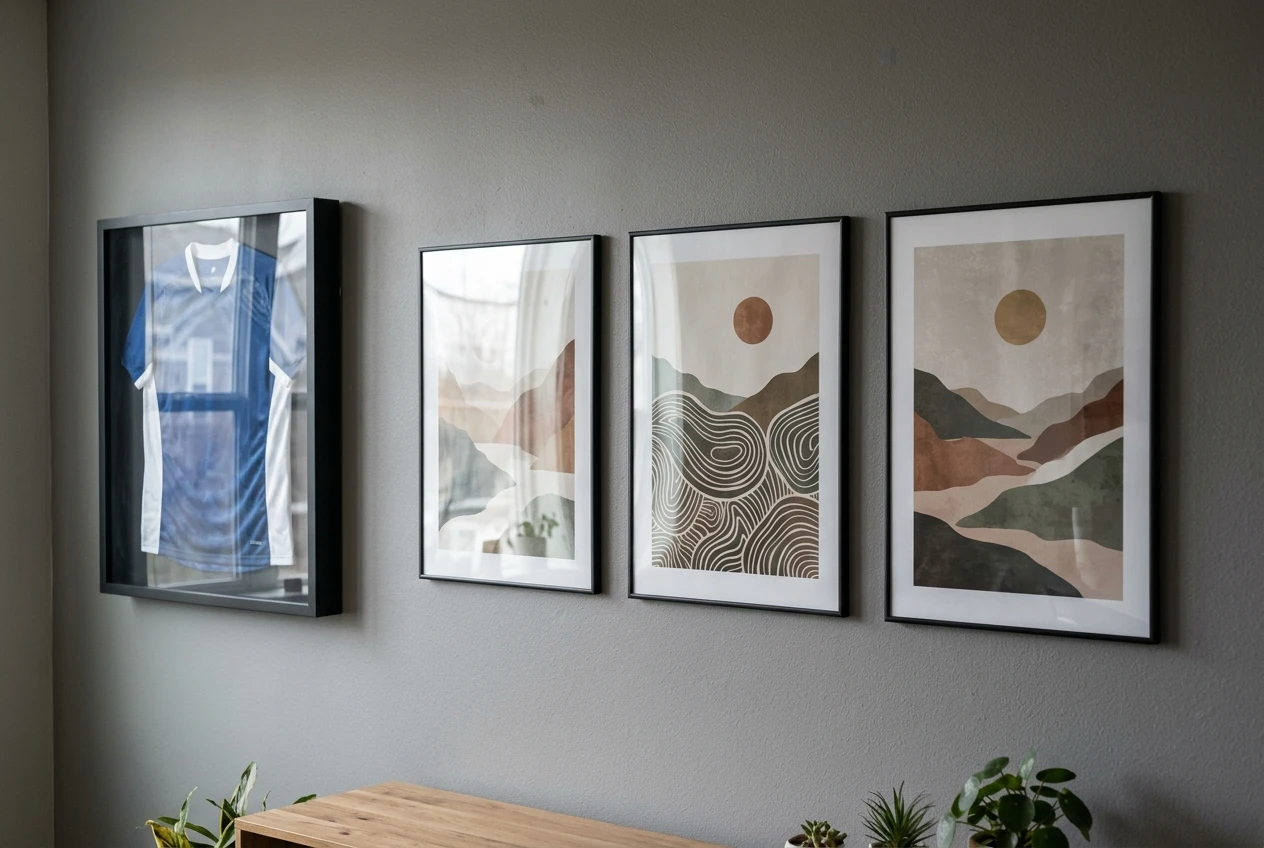
For posters and prints, skip glass altogether where you can. Poster hangers with magnetic wood strips at the top and bottom, or simple black metal clip frames, cost a few dollars each and give a clean, gallery-style look without the weight or breakage risk of glass. Buy a few prints at the same size so they line up as a set, rather than mismatched sizes that force the eye to jump around the wall.
Vinyl decals, wall murals and removable wallpaper options
Vinyl wall decals are one of the most underused tools in a budget mancave build. Team logo decals, oversized player silhouettes, and quote decals apply directly to painted drywall and peel off cleanly if plans change later. A large logo decal, sized to cover several feet of wall, runs far less than a framed print of the same size and makes a bolder visual statement.
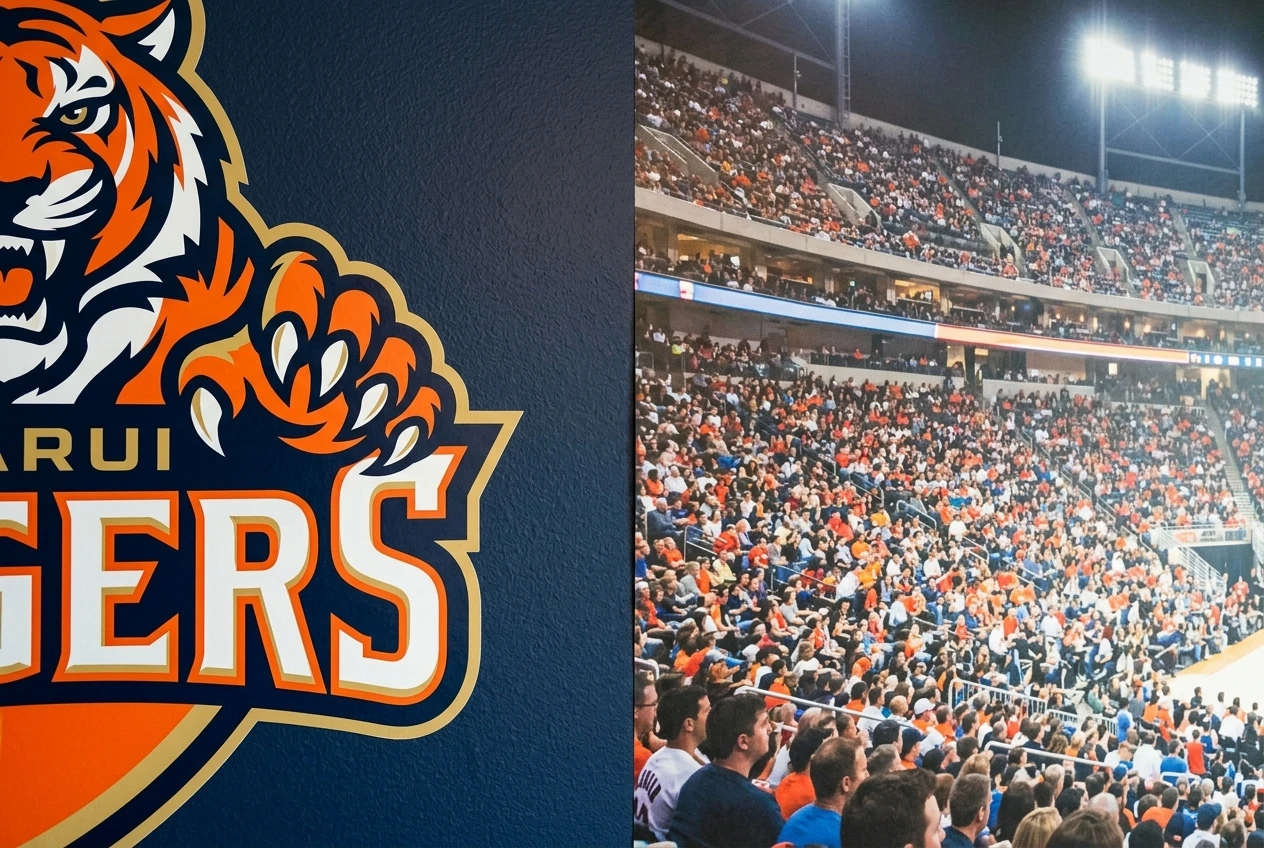
Removable wallpaper has also improved a lot. Peel-and-stick sheets printed with stadium crowd shots, brick patterns, or subtle team-color textures apply like a giant sticker and come off without damaging the drywall underneath, which matters if the room is a shared space or a rental. A single accent wall in a stadium-crowd or scoreboard-pattern removable wallpaper can anchor an entire room’s theme without a single drop of paint.
Pennants, banners and flags for instant team pride on a budget
Pennants and banners are the fastest and cheapest wins on this list. A classic felt pennant costs a few dollars, and a grouping of pennants from a favorite team’s history, different eras of logo design, or a full division of rival teams fills wall space instantly and cheaply.
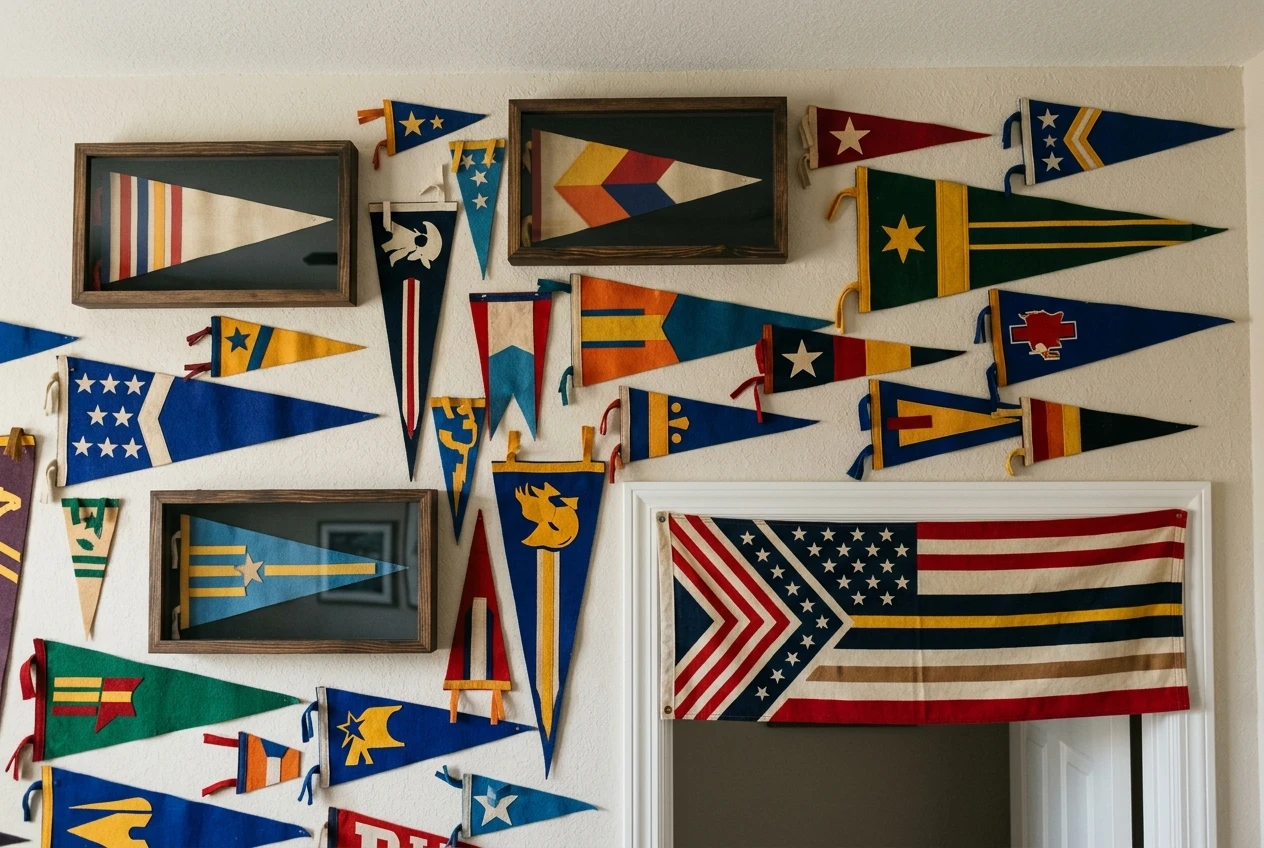
A few ways to keep a pennant wall from looking like a dorm room instead of a finished mancave:
- Frame a few of the pennants in simple shadow box frames rather than pinning all of them directly to the wall.
- Mix pennant sizes, with one or two large ones as anchors and smaller ones filling gaps.
- Hang a full-size flag horizontally above a doorway or window rather than vertically on open wall space, where it acts almost like a valance.
Banners work the same way but at a larger scale, and a single oversized banner behind a seating area can do the job of several smaller pieces combined.
Using lighting to make cheap wall art look expensive
Lighting is the cheapest upgrade with the biggest visual payoff on this entire list, and it’s the step most guys skip. A $15 print lit well looks more expensive than a $150 print lit poorly. Battery-powered picture lights mounted above a frame, LED strip lighting run behind a mounted jersey case or along the edge of an accent wall, and simple puck lights tucked into a shelf above a pennant display all add depth and a finished, gallery feel for very little money.
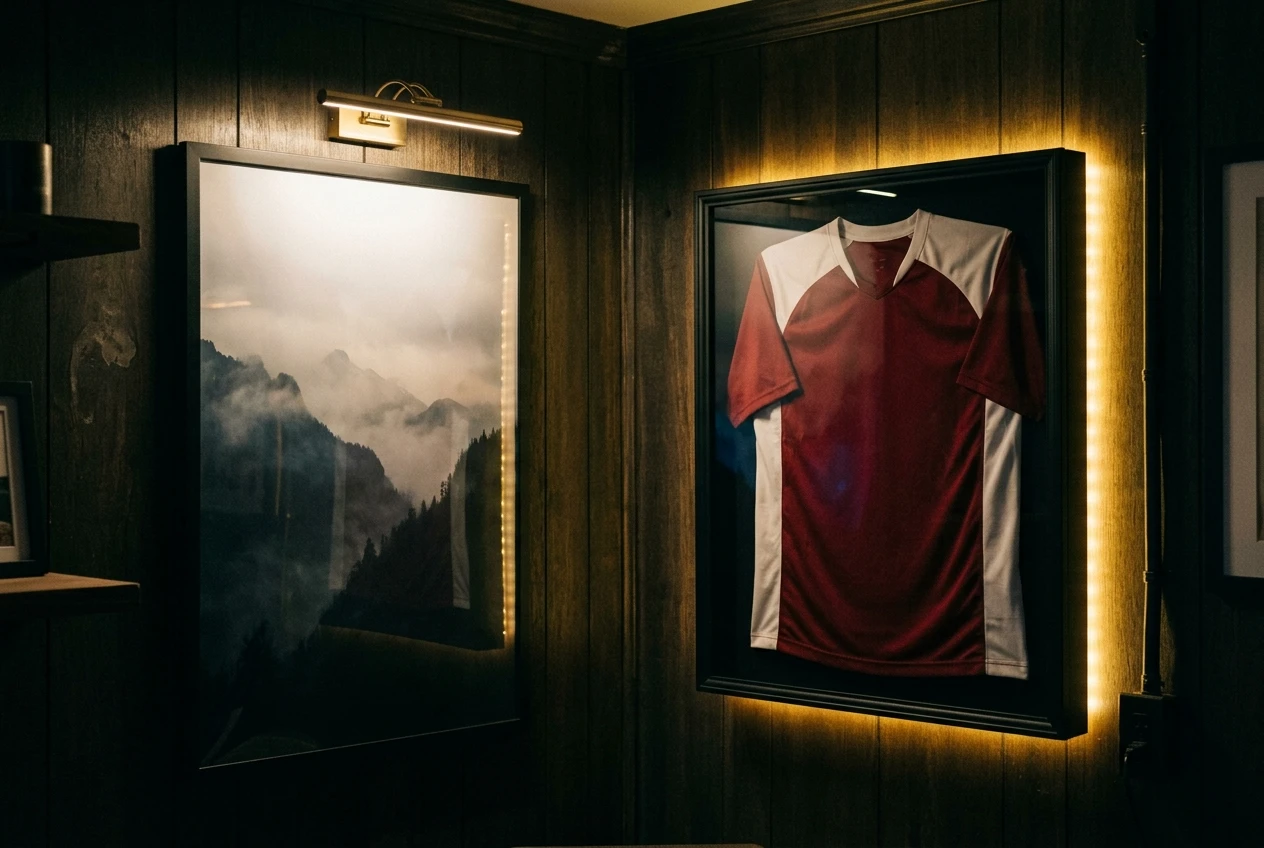
Color-changing LED strips in particular let the same wall shift from game-day team colors to a neutral white for other uses, which adds flexibility without adding more decor. For a deeper look at layering ambient, task, and accent lighting specifically for game day, Essential Lighting Solutions For A Game Day Atmosphere covers the setups worth considering once the walls themselves are in place.
Building a gallery wall that can grow as your budget does
A gallery wall is the most budget-friendly long-term strategy on this list because it doesn’t need to be finished on day one. Start with three or four framed prints or decals arranged with consistent spacing, leave room around the edges, and add pieces over time as autographed items, ticket stubs, or new prints come in.
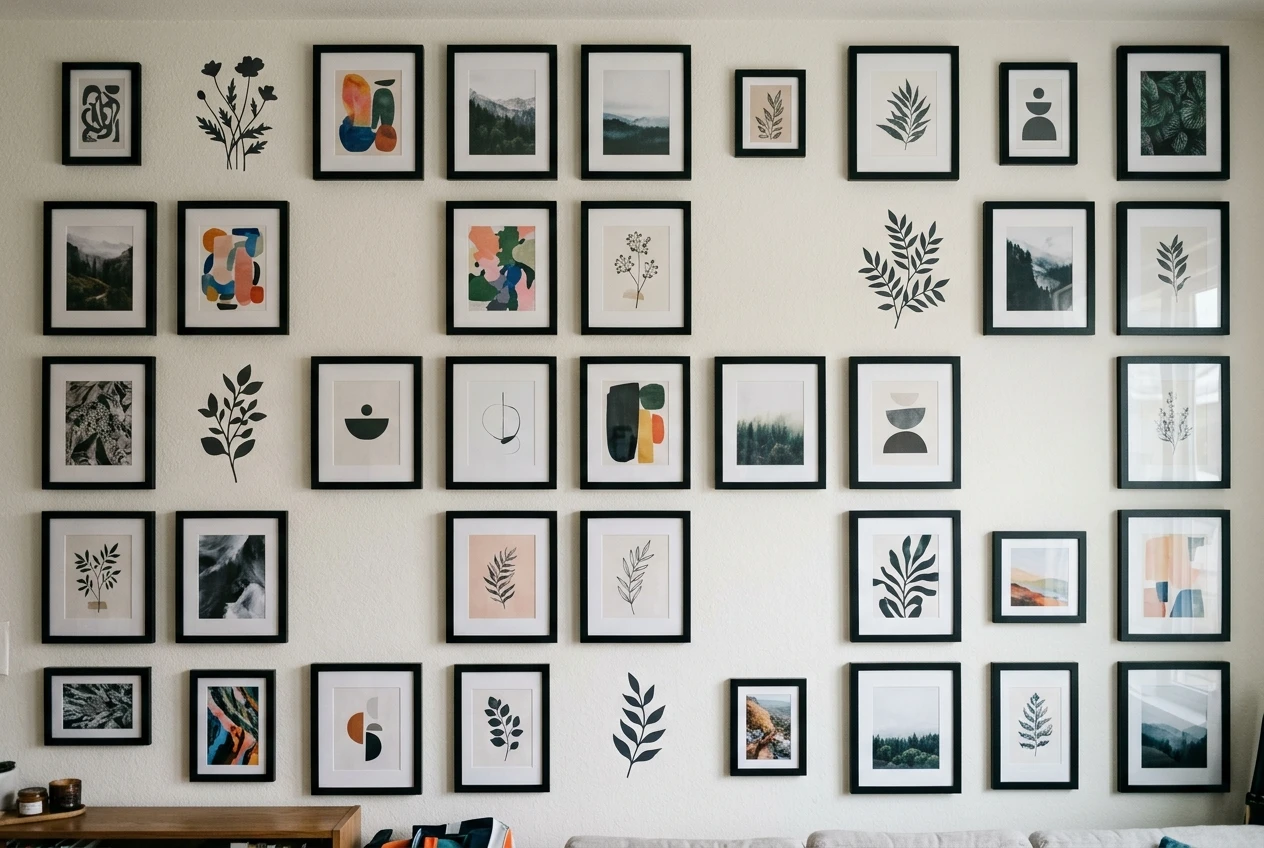
The key to a gallery wall that looks planned rather than accidental is consistency in one element, even if everything else varies. That could mean every frame is the same color, every piece shares the same mat width, or everything is arranged on an invisible grid with equal spacing between pieces. Lay the arrangement out on the floor first, take a photo from above, and adjust before a single nail goes into the wall.
This approach also solves a real budget problem: it lets the walls be finished enough to enjoy now, while leaving obvious, planned-for space for the higher-ticket memorabilia pieces that come later.
Once the walls are handled, the rest of the room starts falling into place a lot faster. The Ultimate Mancave Checklist covers the next 30 upgrades worth considering, from seating to sound, and it’s a solid next stop for mapping out what comes after the walls are done.