
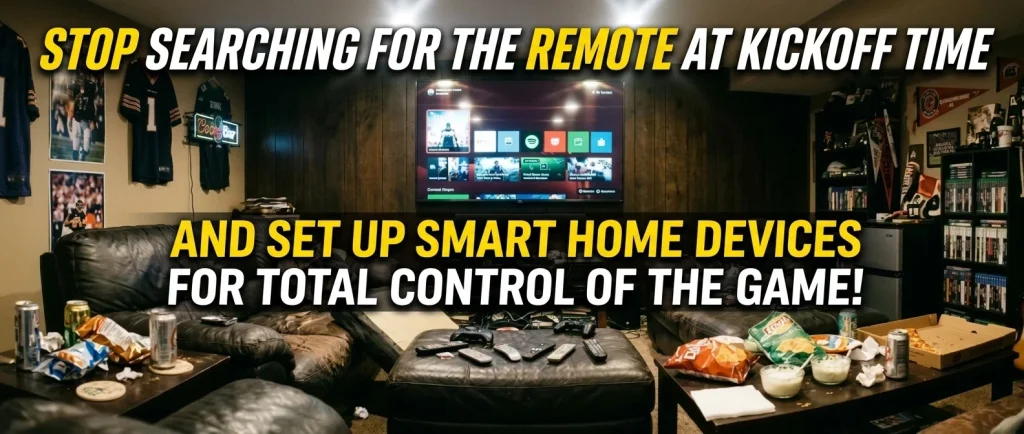
Kickoff is in four minutes. The lights are still bright enough to glare off the screen, the soundbar is on the wrong input, the game console is idling on a menu, and the remote that controls the receiver is somewhere under a sofa cushion. Meanwhile, guests are asking how to turn the volume up. Try a smart home hub for man cave control.
Most man caves with serious gear have this problem. The TV, the audio, the lighting, and the thermostat each work well alone, but nothing connects them. A smart home hub for a man cave is the control layer that fixes this. It lets one tap or one spoken phrase change everything at once.
Why Five Remotes Ruin Kickoff
Every device you buy ships with its own remote or its own app. A typical room with a big screen, a receiver or soundbar, smart bulbs or LED strips, a console and a space heater ends up with four or five ways to control it, and none of them know about each other.
The cost shows up at the worst moments. Before the game you spend ten minutes setting up. During the game you reach for the wrong remote and miss a play. After the game, you walk around turning things off, or you forget and leave everything running overnight.
A hub fixes this by letting you define a scene, which is a saved group of actions across different devices. “Kickoff” might dim the lights, switch the TV to the cable box, set the receiver to the right input, and raise the volume to your usual level. You set it up once, and after that it runs from a button, a phone, or your voice.
What a Hub Actually Does in a Man Cave (and What Your TV and Speakers Already Handle)
A hub does three jobs. It talks to your devices, even when they use different wireless languages. It stores your scenes and schedules. And it gives you one place to trigger them, such as an app, a wall button, a remote or a voice assistant.
Before buying anything, find out what your gear already does without help:
- HDMI-CEC lets devices connected over HDMI control one another. Powering on the TV can wake the console or soundbar, and the TV remote can often adjust the volume of connected audio. It is usually switched on in a settings menu and goes by a different brand name on each manufacturer’s gear.
- Built-in voice assistants on many TVs and soundbars can handle basic commands like power, volume, and input switching.
- Console and streaming box remotes can often turn the TV on and off through CEC.
These features cover the media side of the room reasonably well, but they stop there. Your lights, your climate control, and any smart plugs live outside that system, and the hub’s real value is joining the media gear to everything else. If all you want is “TV and soundbar on together,” try CEC first and skip the hub.
Hub, Voice Assistant or Full Control System: Which Fits Your Room
There are three realistic tiers, and the right one depends on how much you want to configure and how much you want to pay someone else to configure.
Voice assistant ecosystem
Speakers and displays from the major voice assistant platforms can act as the control center for lights, plugs, and many TVs. This is the cheapest and fastest route. Scenes are simple, and it works well if your devices are mostly Wi-Fi based and from well-known brands. The limit is depth. Complex sequences with delays or conditions can be awkward.
Dedicated smart home hub
A dedicated hub, whether a commercial product or a self-hosted system, supports more wireless protocols and more detailed automations. You can build a scene that waits two minutes, checks the room temperature, and then adjusts the thermostat. It takes more tinkering, and it suits someone who likes to set things up properly.
Professional control system
Whole-room systems installed by a dealer, with touch panels and custom remotes, handle projectors, lifts, motorized shades and multi-zone audio under one interface. They cost the most and are installed by a professional rather than set up by you. They make sense if the room has a projector with a lowering screen, a rack of equipment, or a large budget for custom work.
Choose the lowest tier that covers the gear you own. A room with one TV, a soundbar and a set of smart lights does not need a dealer-installed system. A room with a receiver, a projector, a motorized screen and five lighting zones probably does.
Check Compatibility Before You Buy Anything
Compatibility problems cause most hub regrets. The device and the hub need to speak the same language, and there are four you will run into.
- Matter is a newer standard meant to let devices from different brands work across different ecosystems. Matter support is growing, but not every device category is covered, so check that the specific devices you want are supported.
- Zigbee is a low-power wireless protocol common in smart bulbs, buttons and sensors. It needs a hub or coordinator that supports it. Mains-powered Zigbee devices also relay signals, which helps coverage in a garage or outbuilding.
- Wi-Fi devices connect through your router and need no extra hub, but a room full of them can load the network. Test the signal in the man cave itself, especially in a garage or basement where it is often weak.
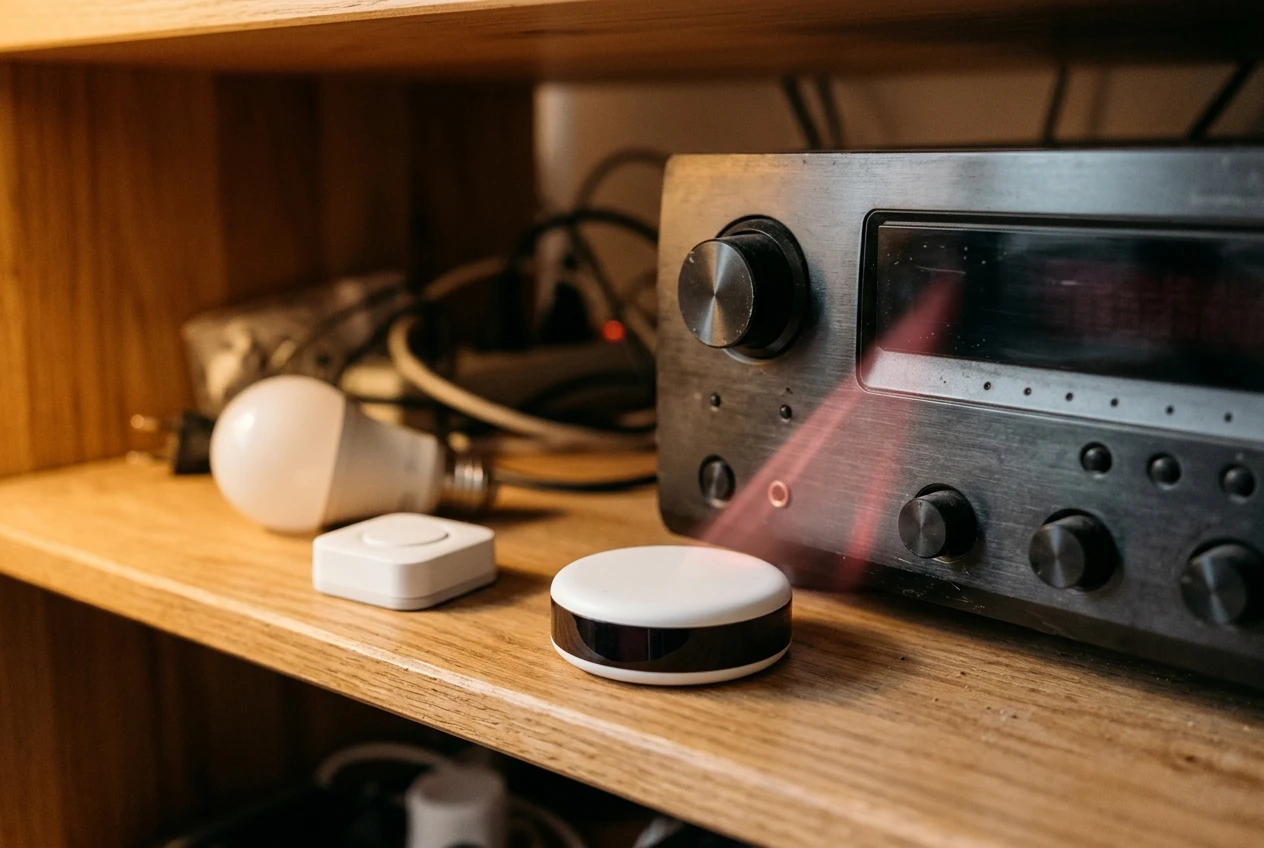
- IR (infrared) is how most older TVs, receivers and some soundbars take commands. If a device has only an IR remote, you need an IR blaster, a small Wi-Fi-connected device that sends the remote’s signals on command. It must have line of sight to the gear, or be placed near it.
Make a list of every device in the room, note which of these it supports, and compare it to the hub’s supported list before ordering. Check that the hub works with the specific model numbers for your TV and receiver, because the brand alone is not enough.
Build Four Game Day Scenes
Four scenes cover most of a game day. The specific levels below are starting points, so adjust them to your room.
Pregame
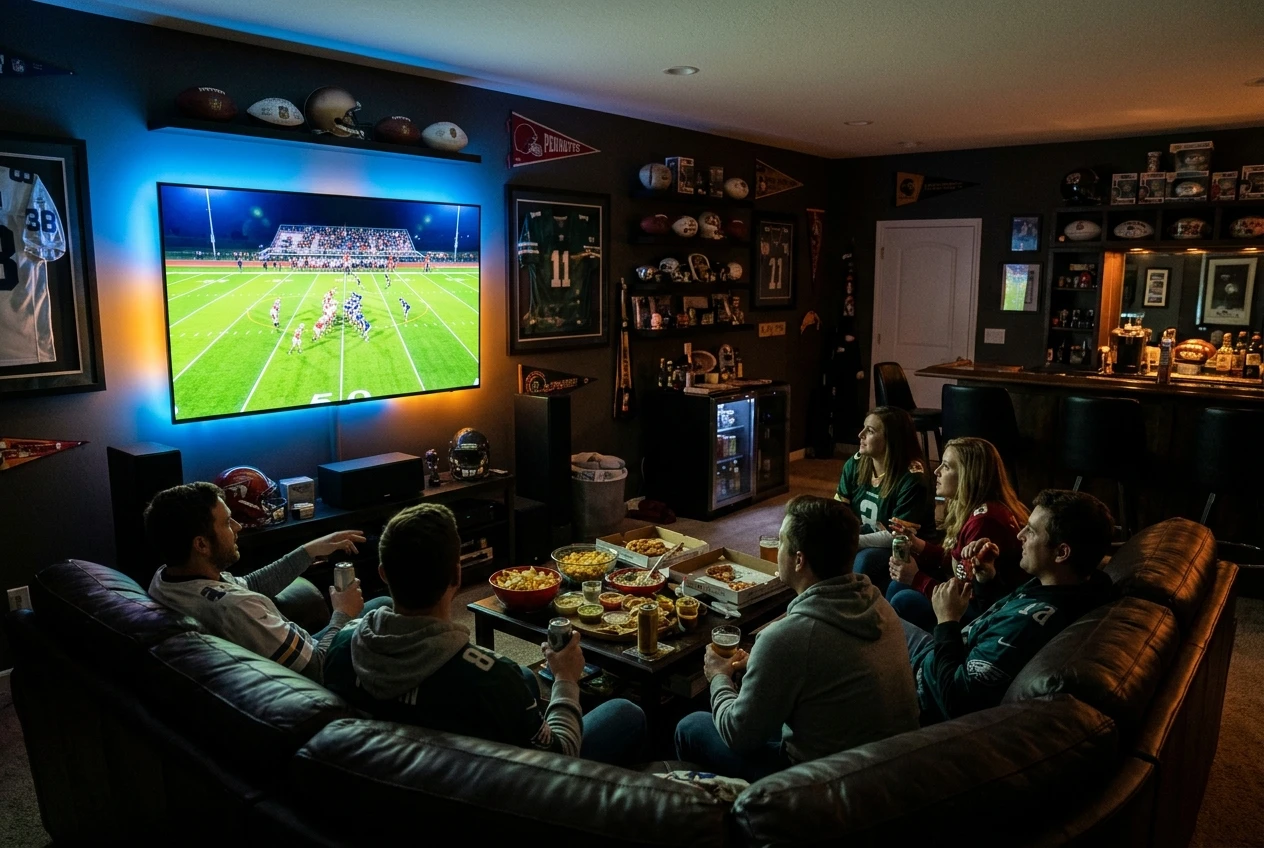
This scene runs while people arrive. Set the lights bright and warm, or in your team’s colors if you have color-capable strips. Turn the TV on to the pregame show, set the audio at conversation level, and start the climate system so the room is comfortable before the crowd fills it. Add a playlist if you use a music system for background.
Kickoff
Dim the main lights low to cut screen glare, and keep any accent lighting behind the screen for contrast. Switch the receiver or soundbar to the game input and raise the volume. If you use a sound mode for sports, set it here. This is the scene you will trigger most.
Halftime
Raise the lights to a level where people can move around and get food or drinks without stumbling. Lower the audio to a background level, or mute the broadcast commentary and play music through the room. Pause the game if you are watching a recording. Bring the bar area lights up if you have them.
Final Whistle
After the game, the choice depends on what happens next. A “stay” version brings the lights up gently and switches the TV to a post-game show or a console. A “shutdown” version turns everything off in sequence: TV, audio, lights, and then the heater or fan. Having both saves you the end-of-night walk around the room.
Climate Control for a Garage or Spare Room Full of People
A room with ten people in it warms up quickly, and a garage swings with the weather outside. Climate belongs in your scenes for that reason.
If the room has a mini-split, a smart thermostat, or a ceiling fan with a smart control, add it to the hub and give each scene a temperature target. Starting the cooling or heating during pregame is more effective than reacting once the room is uncomfortable, because large rooms take time to change temperature.
For portable heaters and fans, be careful with smart plugs. Heaters draw a lot of power, and a plug rated below the heater’s load is a fire risk. Check the plug’s rating against the heater’s wattage, and prefer heaters with their own thermostat and tip-over protection. A thermostat-controlled system or a heater with built-in smart features is safer than a general-purpose plug.
Sensors help too. A temperature sensor in the room lets the hub turn cooling on when the temperature passes a number you choose, which covers the moments when a full house changes the room faster than you expected.
Wiring the Gear You Already Have
Here is how each piece of equipment usually connects.
- Lights: Smart bulbs and LED strips with Zigbee, Matter, or Wi-Fi support connect directly. Strips with only a remote may need an IR blaster or a replacement controller. If you want ideas for the lighting itself, the checklist at the end of this article covers the wider room.
- Soundbar or receiver: Newer models often have a network connection or app that the hub can use. Older ones need an IR blaster. Using the TV’s CEC volume control is a simple fallback.
- TV: Most current TVs can be controlled over the network and powered on through CEC. Set the input in the scene so the game source always appears.
- Game console: Consoles can wake the TV through CEC and can often be powered on from a phone app. Check whether your hub can send a power command, or whether the console’s own settings handle it.
Add one device at a time and test it by itself before building scenes. When a scene fails, you will know which device caused it.
One-Tap and Voice Controls for Guests Who Don’t Know Your Setup
Guests should not need a tutorial. Give them one obvious way to control the room.
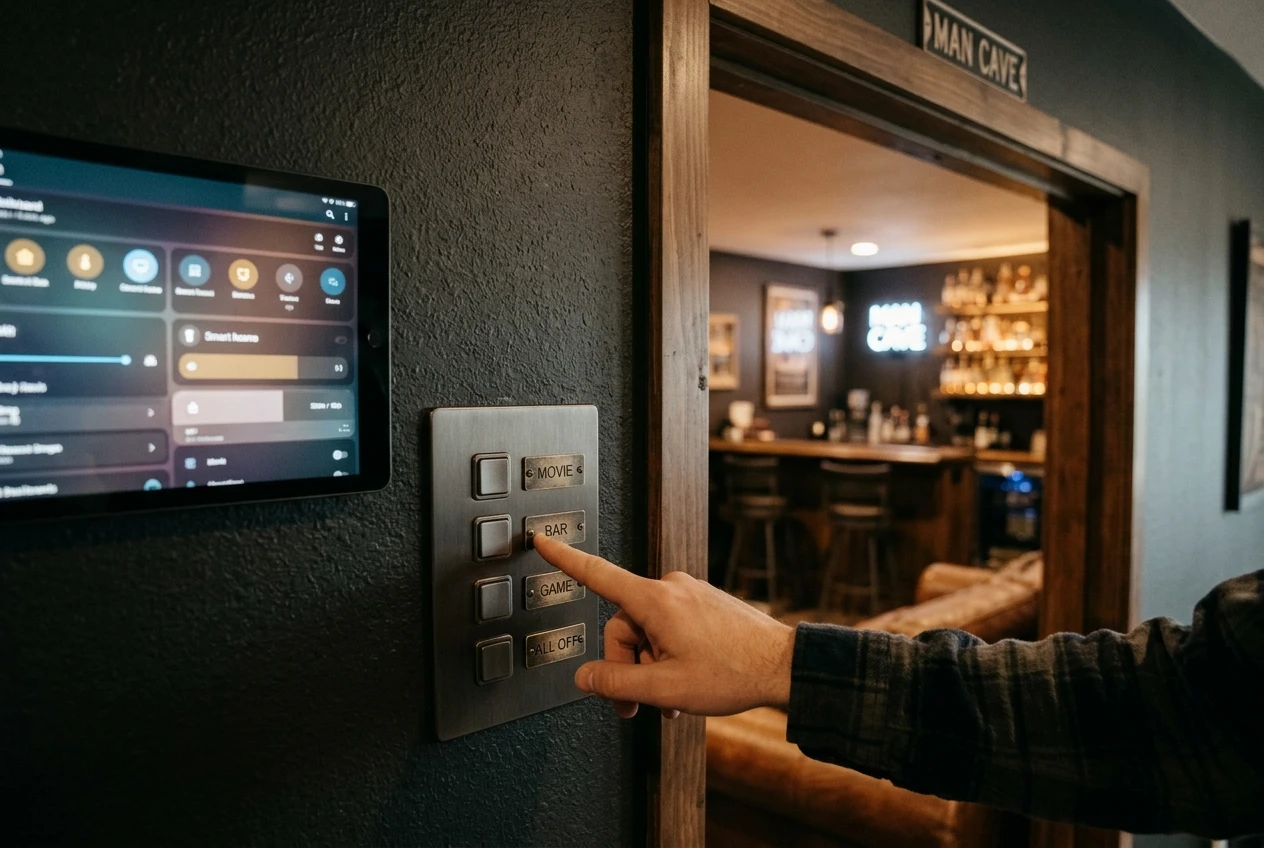
- Wall buttons or a small scene remote work well. Label each button with the scene name, such as Kickoff or Halftime. A programmable button needs no phone and no app.
- Voice commands are good for simple requests. Name your scenes with short, distinct phrases so the assistant does not confuse them, for example “game on” and “halftime.”
- A shared app or dashboard on a tablet mounted near the seating gives a visual option with big buttons.
Keep a basic fallback in place too. If the network goes down during the game, the TV and audio should still work with their own remotes. A hub should add control without becoming the only way to turn the room on.
What to Set Up First If You’re Starting From Scratch
If you are building from nothing, the order matters, because changing the control layer after the room is finished is harder than choosing it first.
- Pick the TV and audio gear and confirm that they support network control or CEC.
- Confirm Wi-Fi coverage in the room, and add an access point if the signal is poor.
- Choose the hub tier that matches the gear and your patience for setup.
- Add lighting that works with that hub, so you are not buying an IR-only strip that needs a workaround.
- Connect one device at a time, then build the kickoff scene first, since you will use it most.
- Add the other three scenes and then climate control.
- Add wall buttons or voice names once the scenes work reliably.
Once the control layer is running, the rest of the room can be planned around it, including seating, the bar, displays, and storage. The Ultimate Mancave Checklist lists more than 30 ideas to help you plan everything else around your new control setup.